Once we’d signed on the dotted line for our apartment, work began the very next day on our first priority: the bathroom. Living in a one bed/one bath apartment, we knew that it would make life very difficult to have to close off the bathroom once we moved in and so in just a few weeks we worked hard to get the space in shape for moving day.
Similar to the kitchen, the bathroom was in need of a complete overhaul; a windowless space, lined with blue tiles, poorly lit and featuring a teeny, tiny bathtub, the room felt so small. We knew we had to bring some light to the room and make the small space feel bigger.
Before: Bathroom

One of the first tasks was to take the sledgehammer and knock everything out. After a few days and several bags of rubble, work began on installing a new fake roof to add in some white spot lights and light up the space, but also to install an extractor fan which would run 24 hours a day in the absence of a window to keep moisture at bay.
Once this task was completed we began laying the groundwork and re-plumbing to adjust for the new shower. With the tiny bath and cupboard above it removed, the room had really opened up, leaving us enough space to install a large shower with an alcove for shelves.
We largely kept to the same palette of neutral tones when decorating the apartment, using a mix of white, grey and black, with wood and metallic details to add warming touches. We carried this colour scheme over to the bathroom, selecting the same wood-like tiling from the kitchen for the floor. This was to be met with classic metro tiles for all four walls which we chose in white to add light and space to the room; a tiling combination that would also be carried over to the neighbouring cloakroom.
After: Bathroom
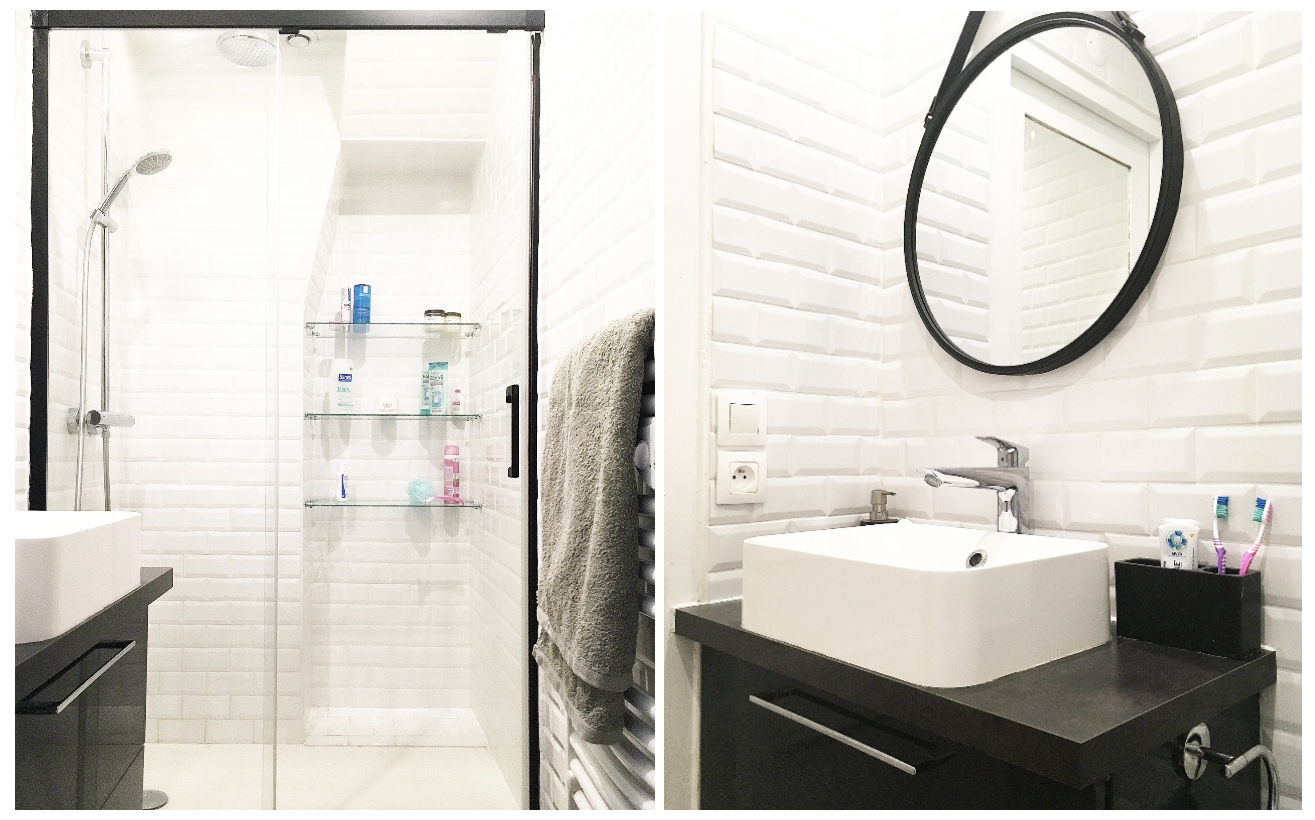
Finally, our bathroom was starting to come together. We fitted the shower with a Grohe dual shower head, fixed some made-to-measure glass shelves into the alcove and added the shower door which we found in Leroy Merlin. Here, we also found our vanity unit which fit perfectly into the narrow remaining space whilst adding some much needed storage. On top of this, we added a rectangular vessel sink we’d found at Ikea and Grohe tap, finishing off the sink area with a round barber mirror.
The final touch was reinstating the heated towel rack (the only item that we’d kept from the old bathroom) to its original spot.
And just like that, our shiny, new, light and bright bathroom was completed, having seemingly doubled in size, just in time to welcome us as we moved in to our new home.
